Show IDX Pages with Your Webflow Navigation and Footer
The walkthrough for building the wrapper page in Webflow and connecting it in your IDX Broker settings.
Written by IDX Plugin, an independent IDX Broker Developer Partner, not affiliated with IDX Broker.
On this page
In short
- IDX pages open with your Webflow navigation and footer.
- Visitors keep your navigation while browsing listings.
- Our templates set the layout inside that frame.
- The wrapper is a published page on your own domain.
What the wrapper does
IDX Broker generates listing detail pages, search results and tools like Schedule a Showing or Home Valuation as standalone pages. By default they do not use your Webflow navigation or footer. A dynamic wrapper is a page on your site that tells IDX Broker where to place its content inside your own layout, so everything stays visually consistent. It is the third piece of IDX Plugin for Webflow, after the search form and the listing widgets.
Build the wrapper page
-
1
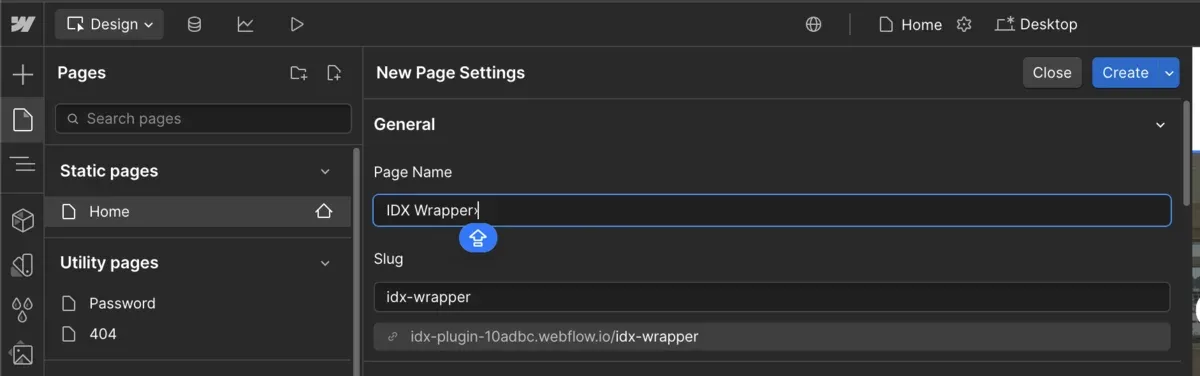
Create a wrapper page
Create a new static page in Webflow, name it something like IDX Wrapper and set a clean URL slug such as idx-wrapper.
-
2
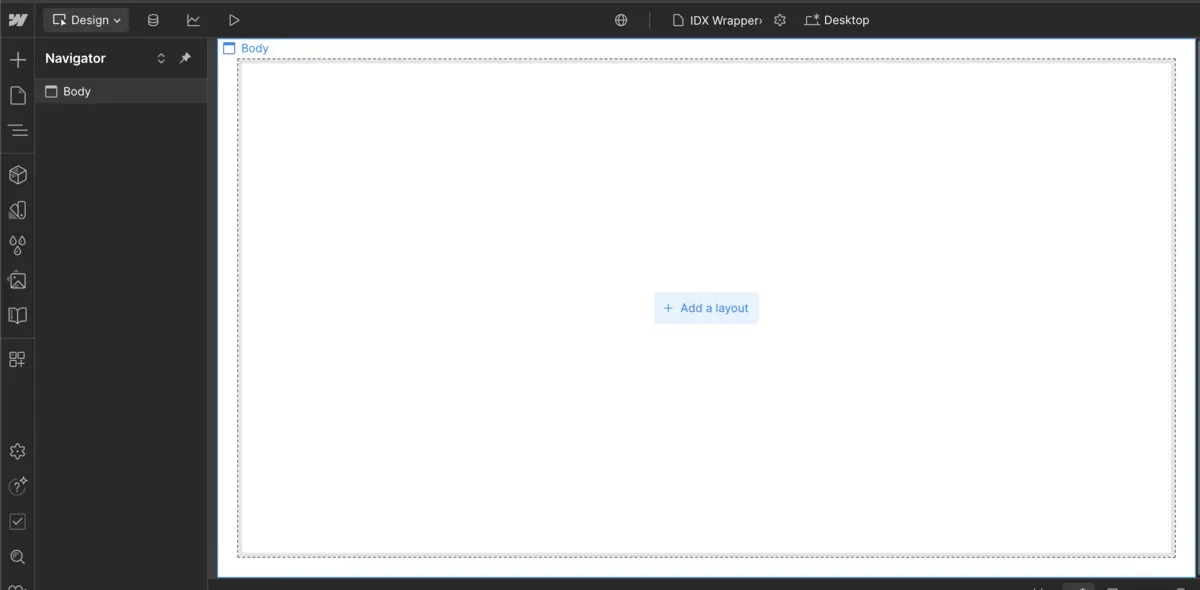
Start from the blank page
Webflow generates a new blank page for you.
-
3
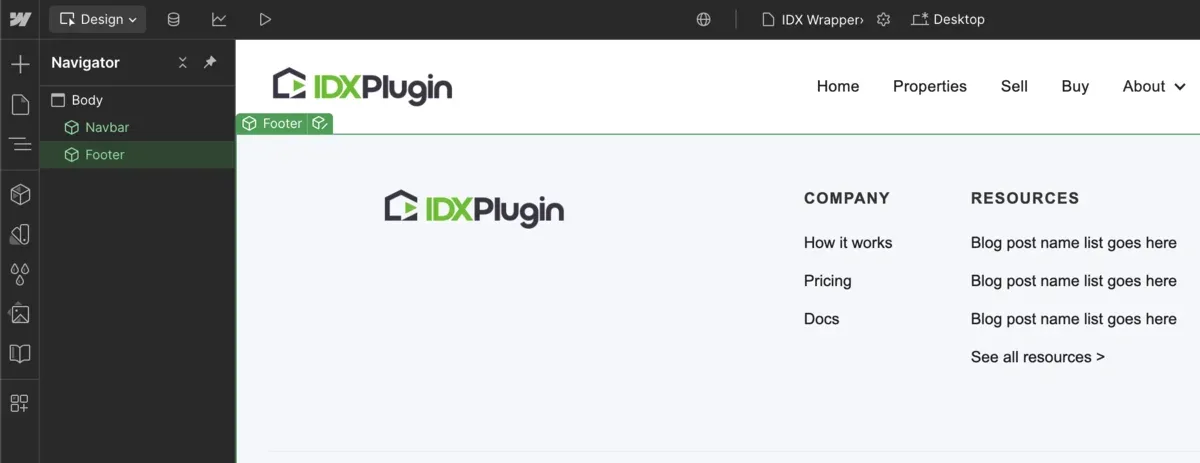
Add your navigation and footer
On the new page, add your existing navigation at the top and your footer at the bottom to keep the layout aligned with the rest of your site.
-
4
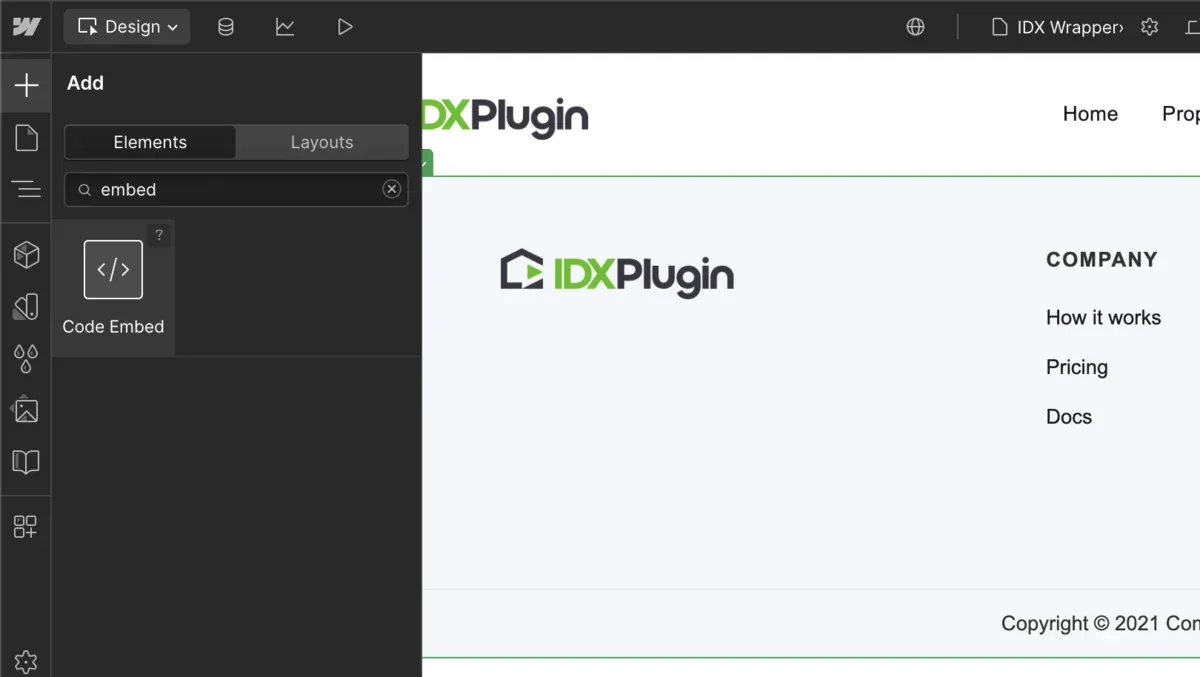
Insert a Code Embed
Between the navbar and footer, insert a Code Embed element. This is where IDX Broker injects its dynamic content.
-
5
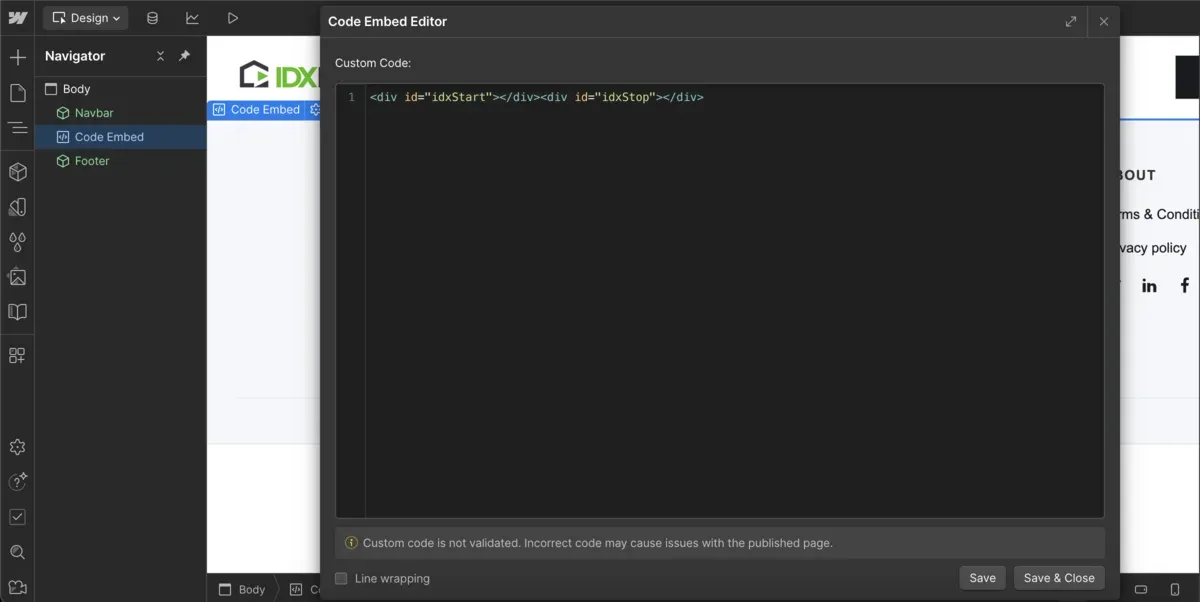
Paste the wrapper tags
Paste the code shown below exactly as written, with nothing between the two tags. It tells IDX Broker where to insert its content.
-
6
Publish and copy the URL
Publish the page and copy the full public URL on your own domain, for example https://your-site.com/idx-wrapper.
-
7
Set the wrapper in IDX Broker
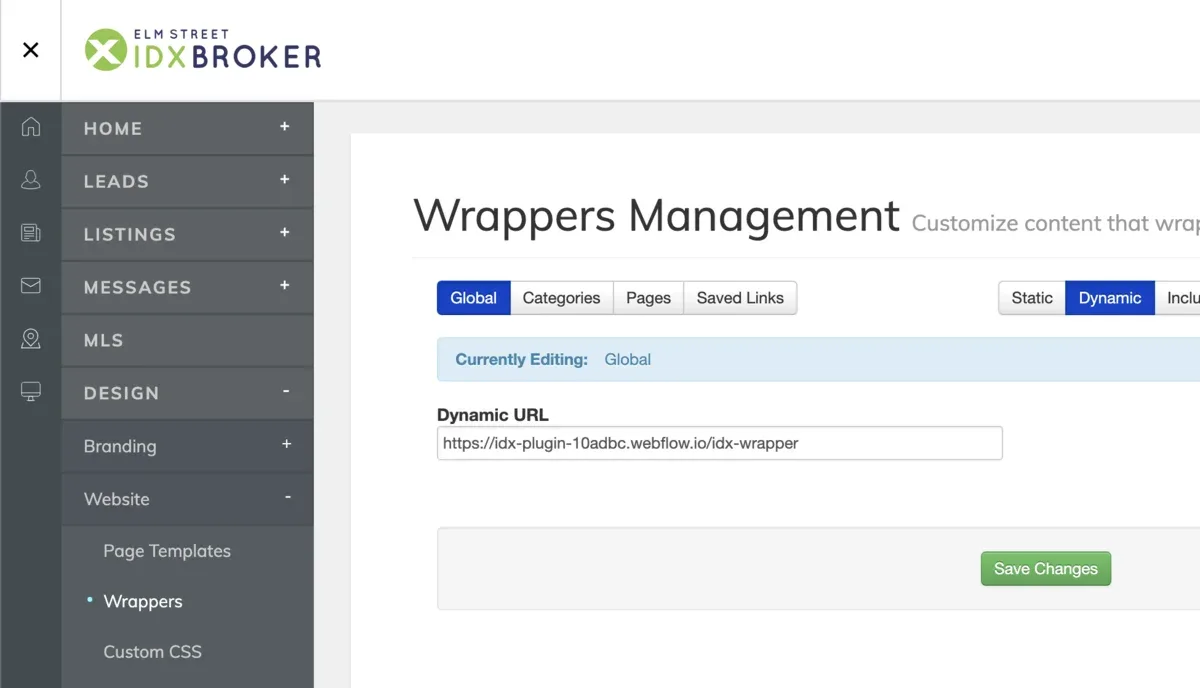
Log in to IDX Broker, go to Design then Website then Wrappers then Global, paste your wrapper URL into the Dynamic URL field and click Save Changes. IDX Broker keeps a cached copy of the wrapper page, and it can be refreshed on the same screen where the Dynamic URL is set.
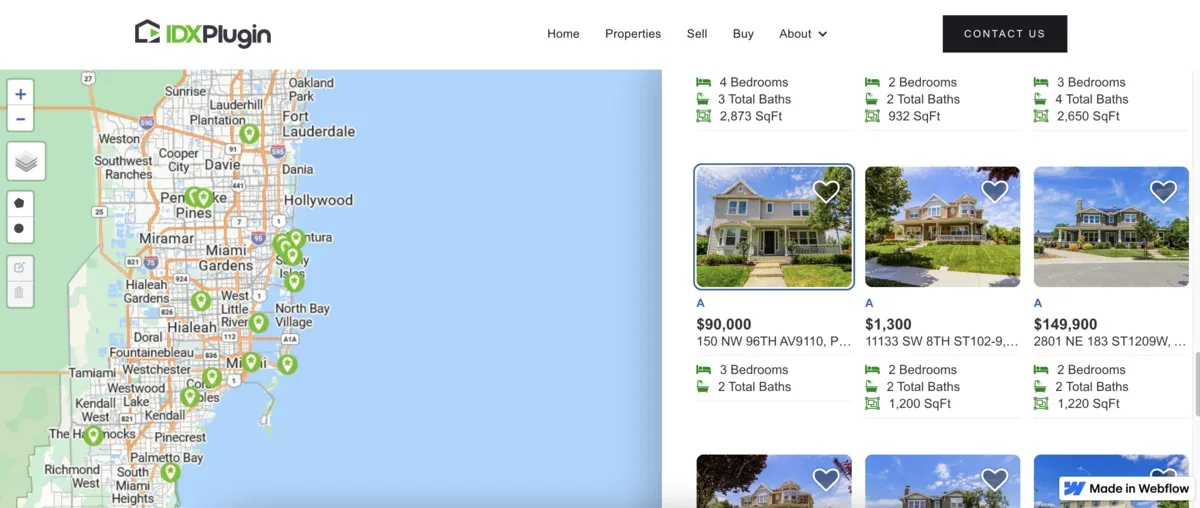
<div id="idxStart"></div><div id="idxStop"></div>Once saved, IDX Broker displays all IDX pages, including listings, search results and lead tools, inside your Webflow layout with full use of your site's navigation and footer.
Next, put your own layout on the IDX pages
The wrapper solved the frame. For the layout between your navigation and footer, we publish our own templates into your IDX Broker account and you select them page by page, a few minutes and no code. Which template goes with which page is covered in How Our IDX Broker Templates Work, and Global Styles then matches everything to your Webflow branding. You can see the results page running live on our demo.
Want us to set the wrapper up with you?
Create a free IDX Plugin account and write to us. Most of the work happens on our side, in the dashboard and on the IDX Broker pages, and for the Webflow part we arrange it in whatever way suits you.
Get Started, it's free No extra invoice. You only pay IDX Broker.