MyHome IDX Theme, Install and Overview
Start here if you're setting up the MyHome IDX theme on your own WordPress site, from download to a ready-to-edit demo.
Written by IDX Plugin, an independent IDX Broker Developer Partner, not affiliated with IDX Broker.
On this page
In short
- Import a demo site in one click, then put your own content in it.
- Your own listings show once your IDX Broker account is connected.
- Edit your WordPress pages in Elementor, drag and drop, no code.
- The theme is free, showing MLS data needs a paid IDX Broker account.
Install it step by step
-
1
Click download myhome-idx.zip.
-
2
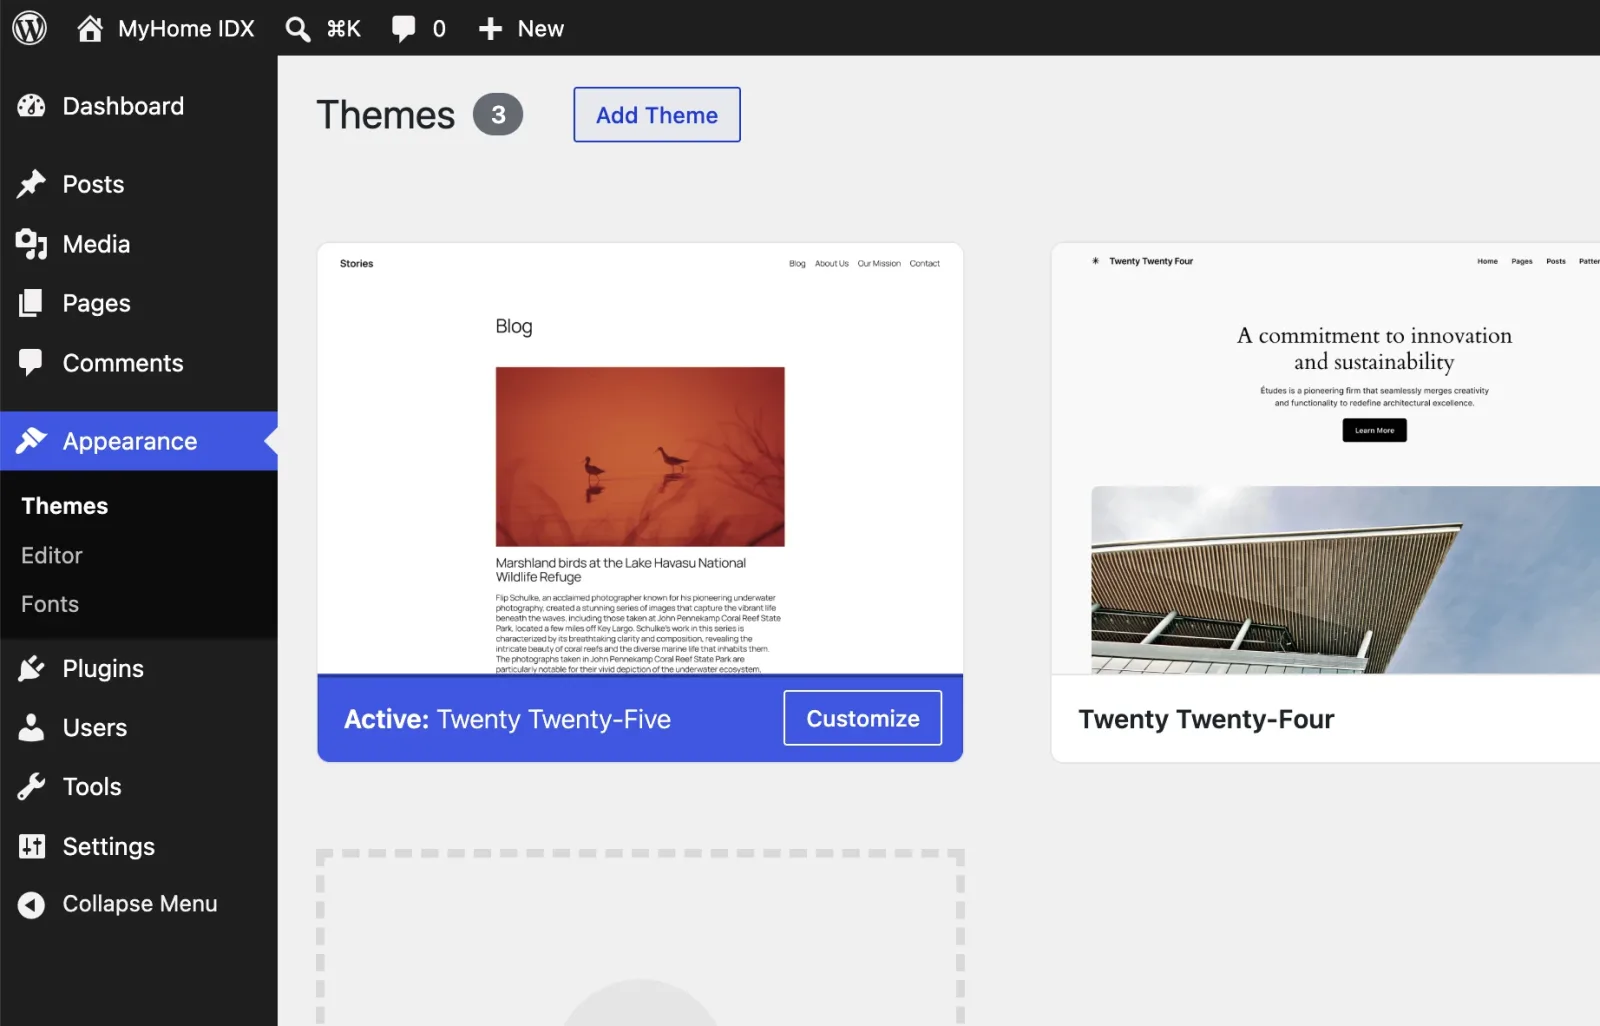
In WordPress go to Appearance › Themes and click Add Theme.
-
3
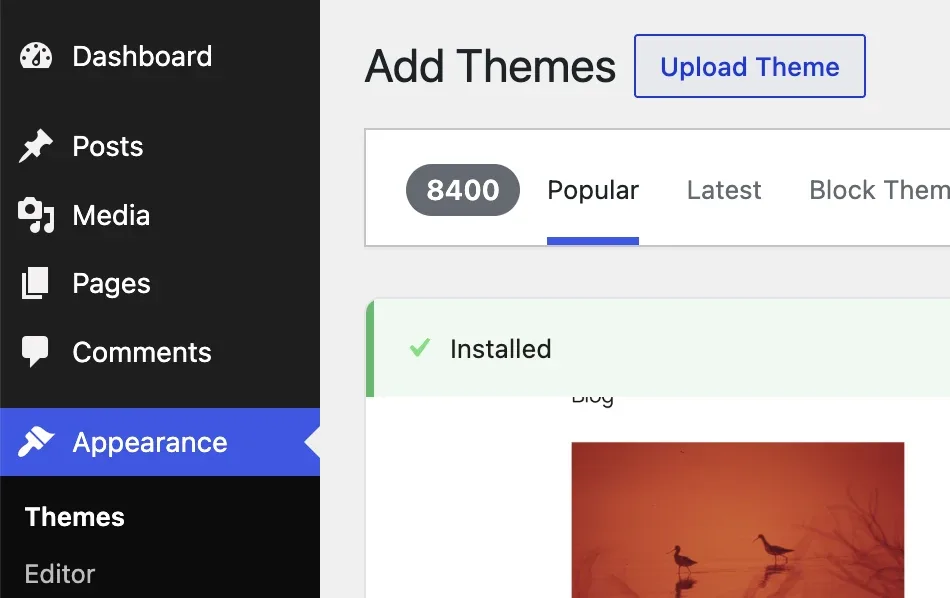
Click Upload Theme.
-
4
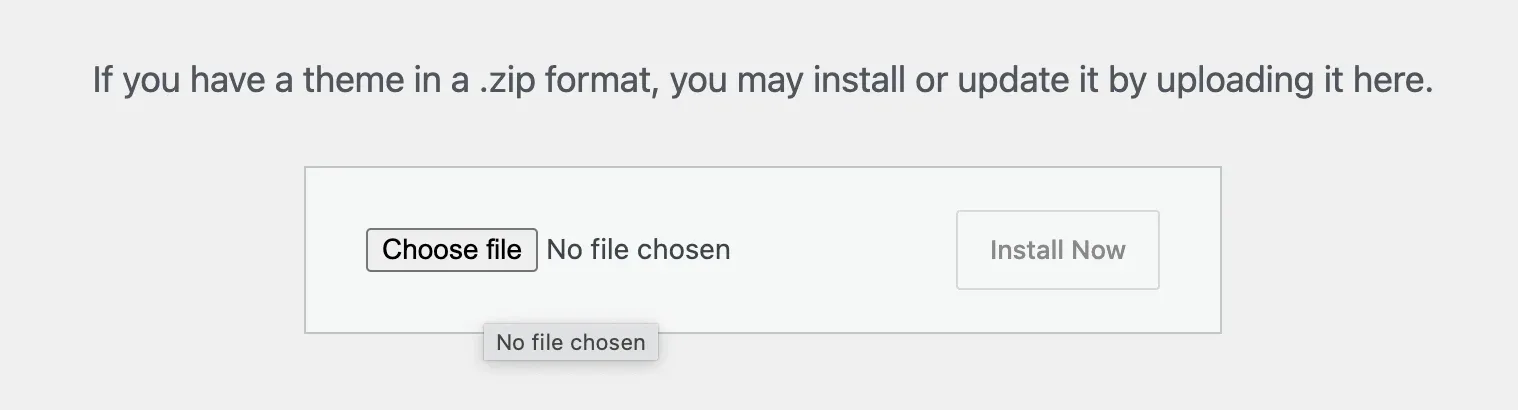
Click Choose file.
-
5
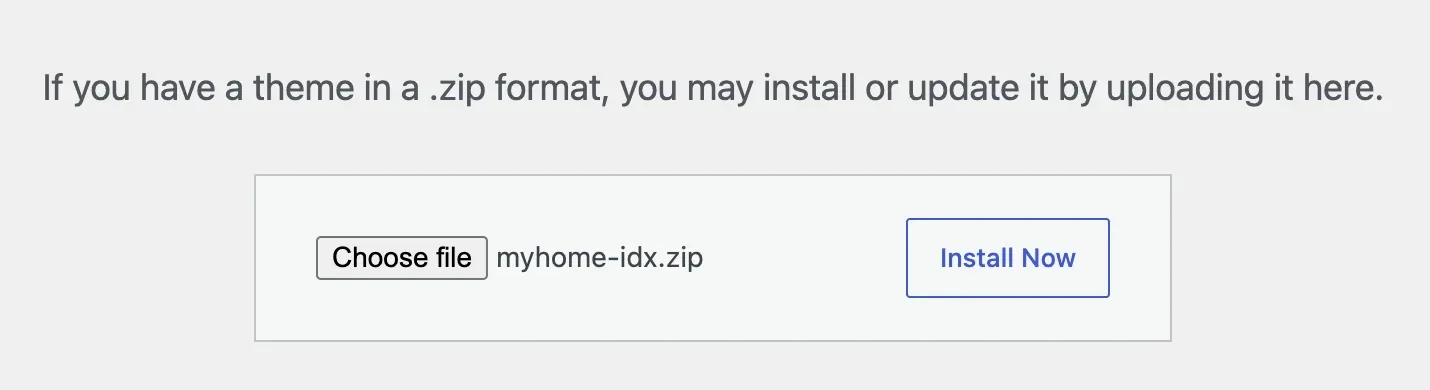
Pick myhome-idx.zip and click Install Now.
-
6
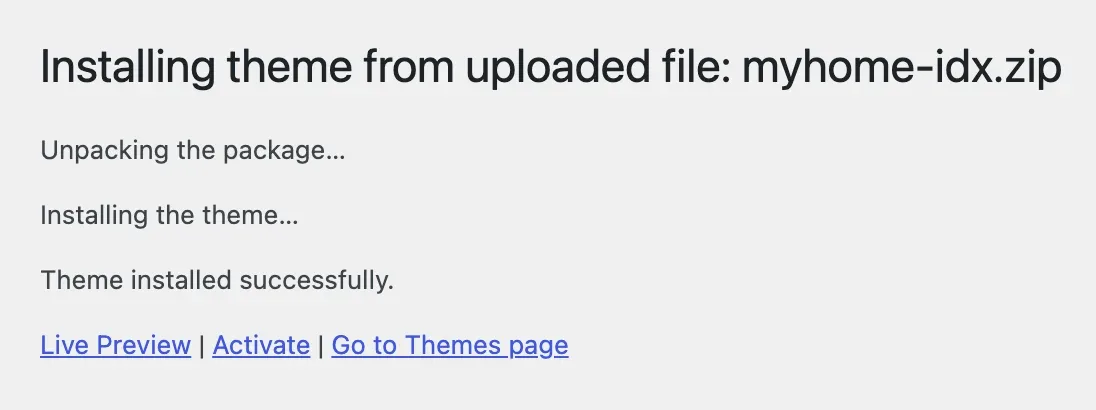
Click Activate.
-
7
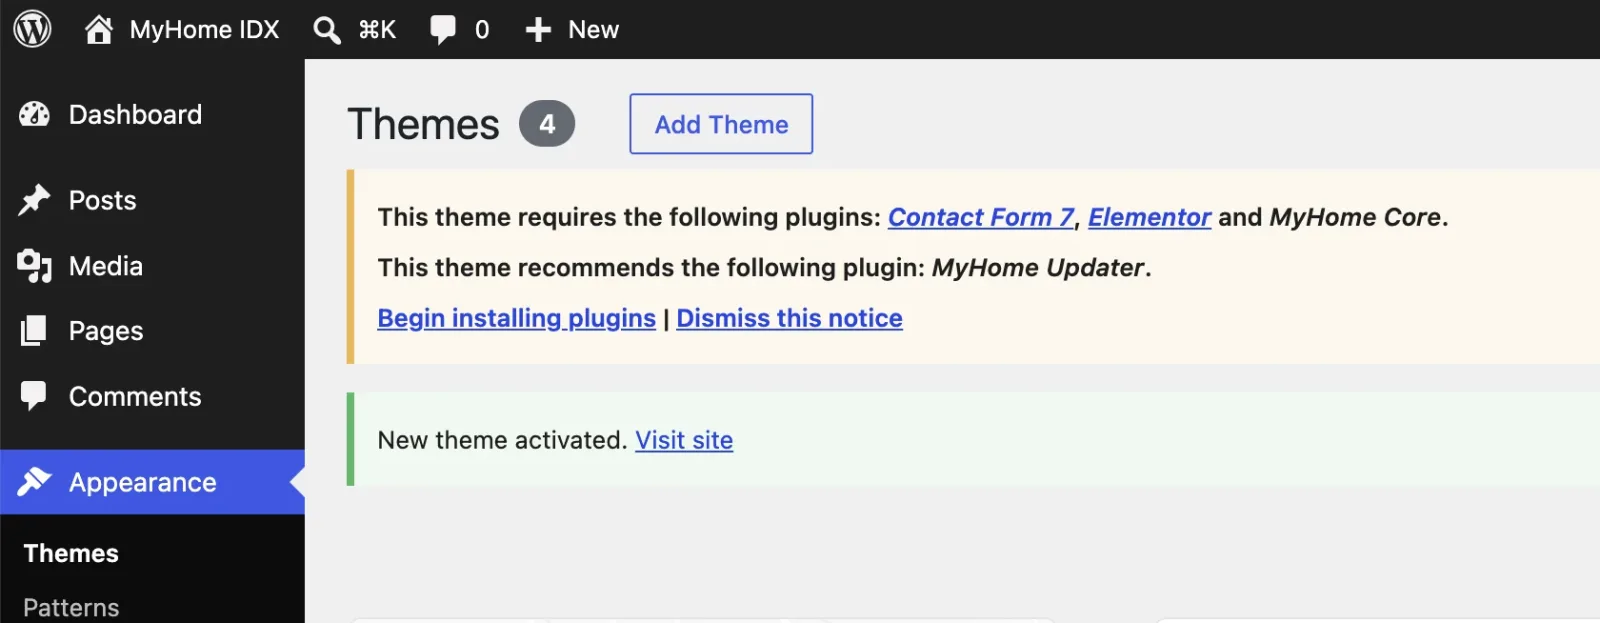
A notice lists the four plugins the theme needs. Click Begin installing plugins.
-
8
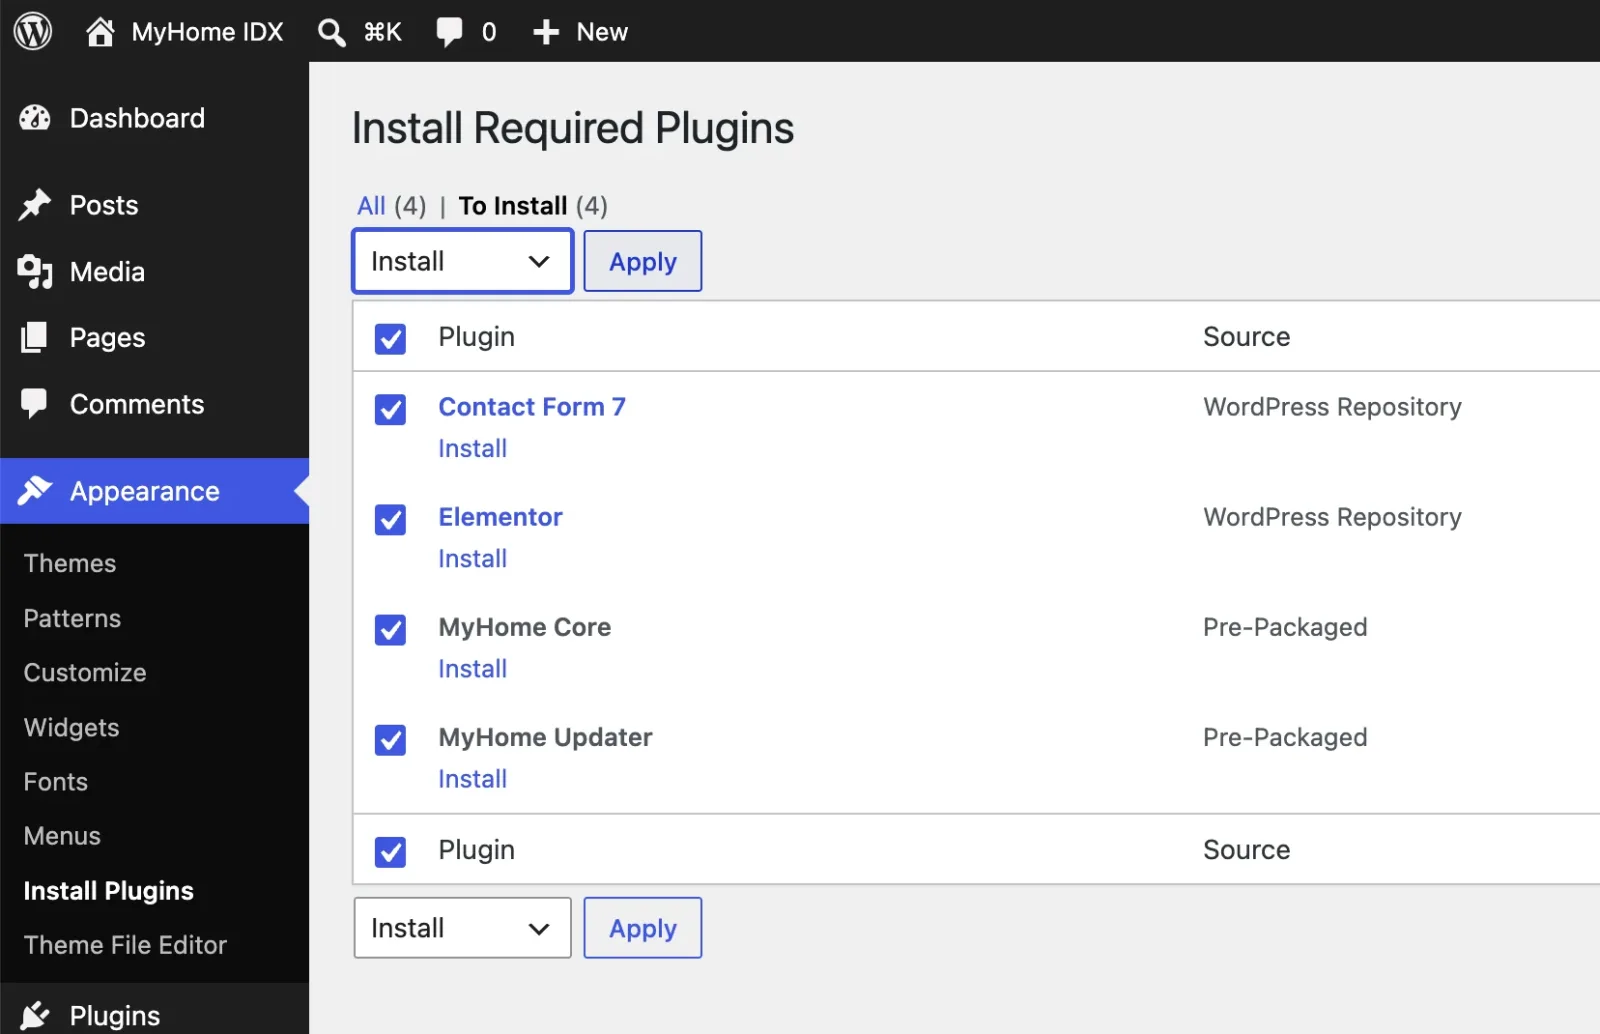
Select all four, choose Install and click Apply.
-
9
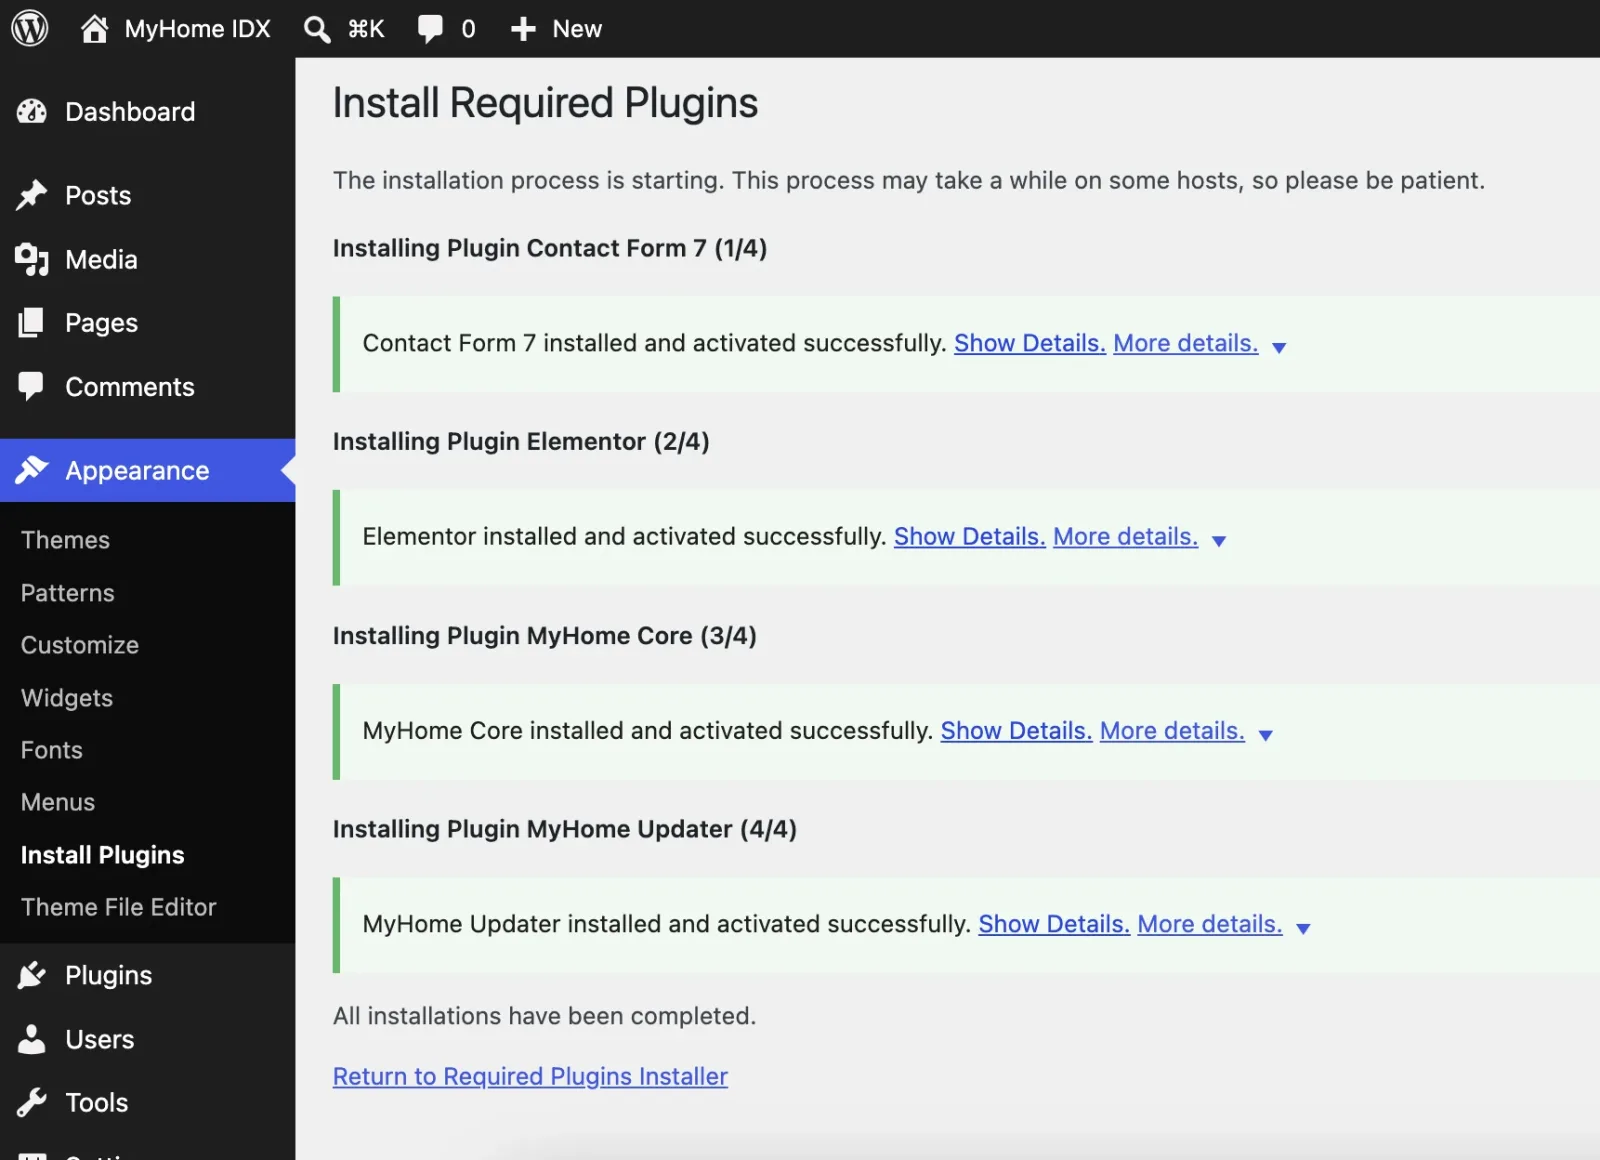
Let it finish, then click Return to Required Plugins Installer.
-
10
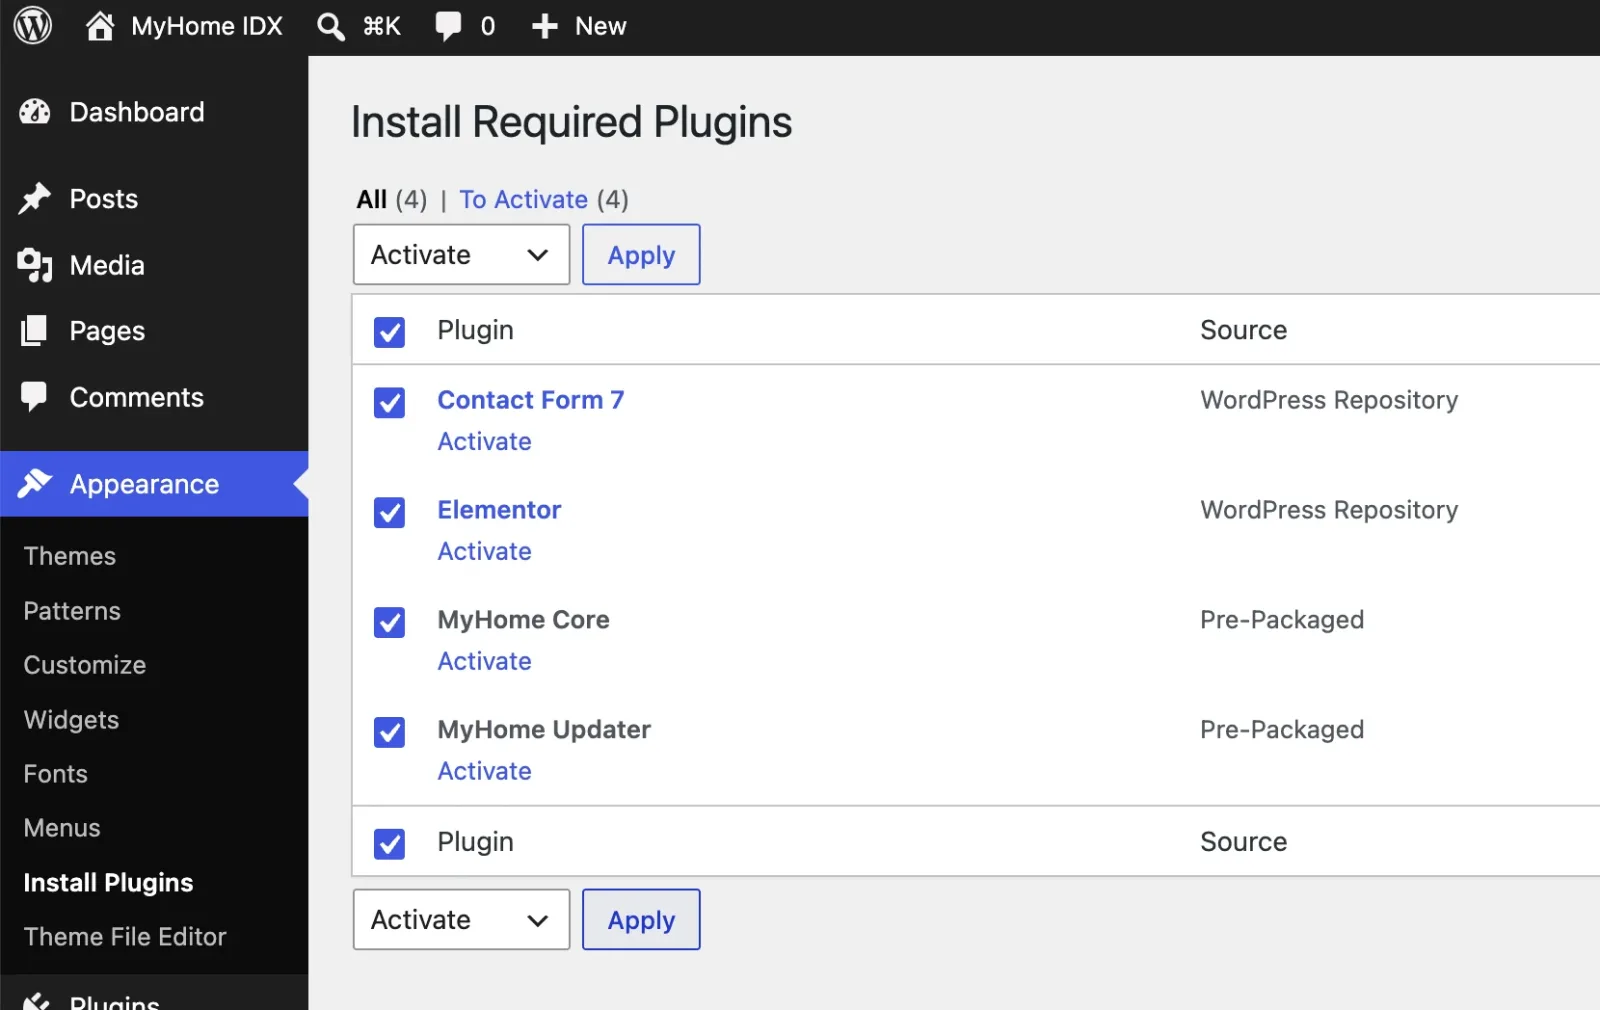
Select all four again, switch to Activate and click Apply.
-
11
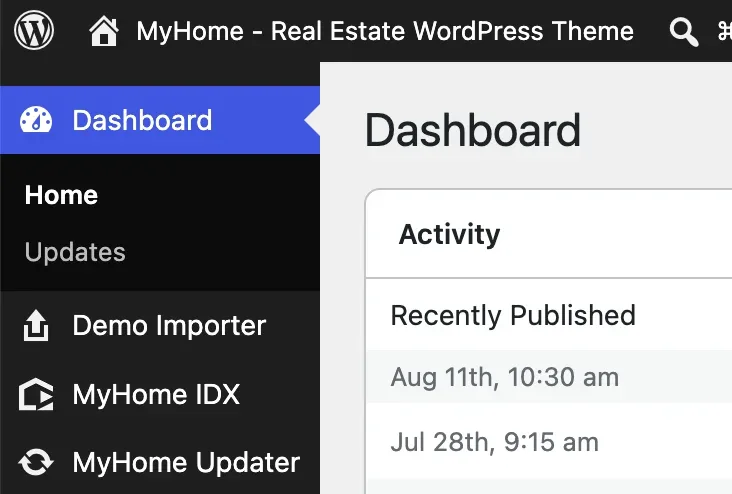
Click any item in the WordPress menu on the left, Dashboard for example. The page reloads and three new theme items appear there: Demo Importer, MyHome IDX and MyHome Updater.
-
12
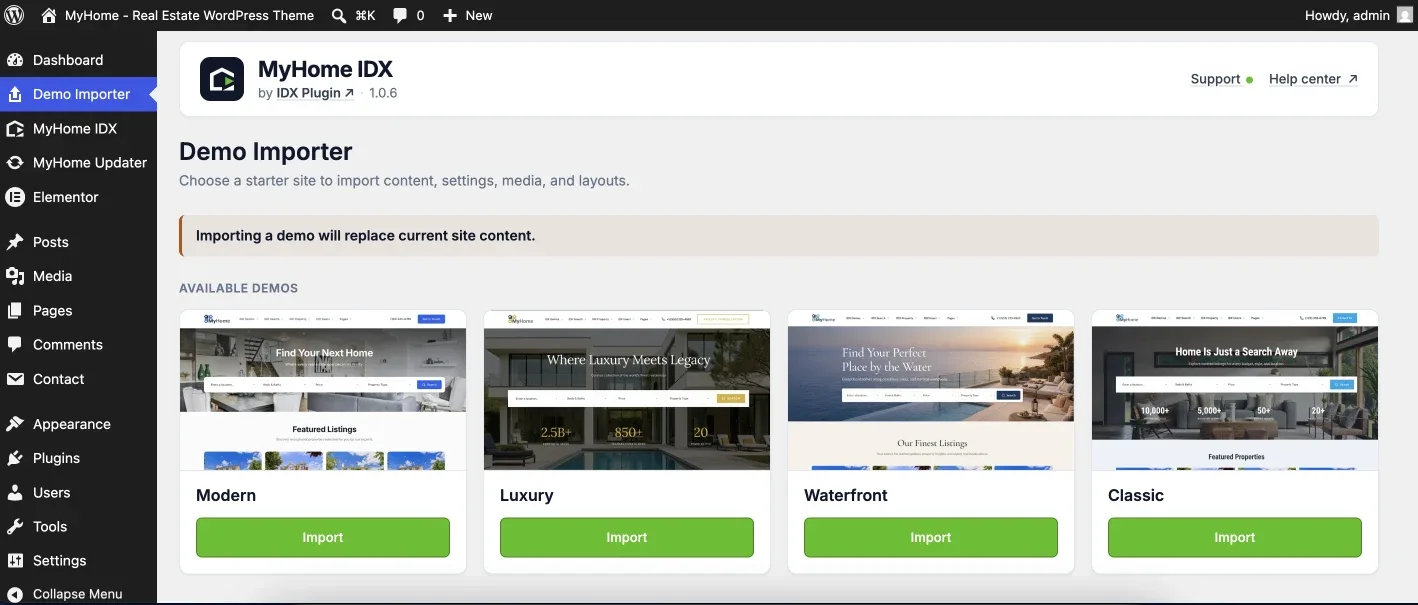
Open Demo Importer and pick a starter site.
-
13
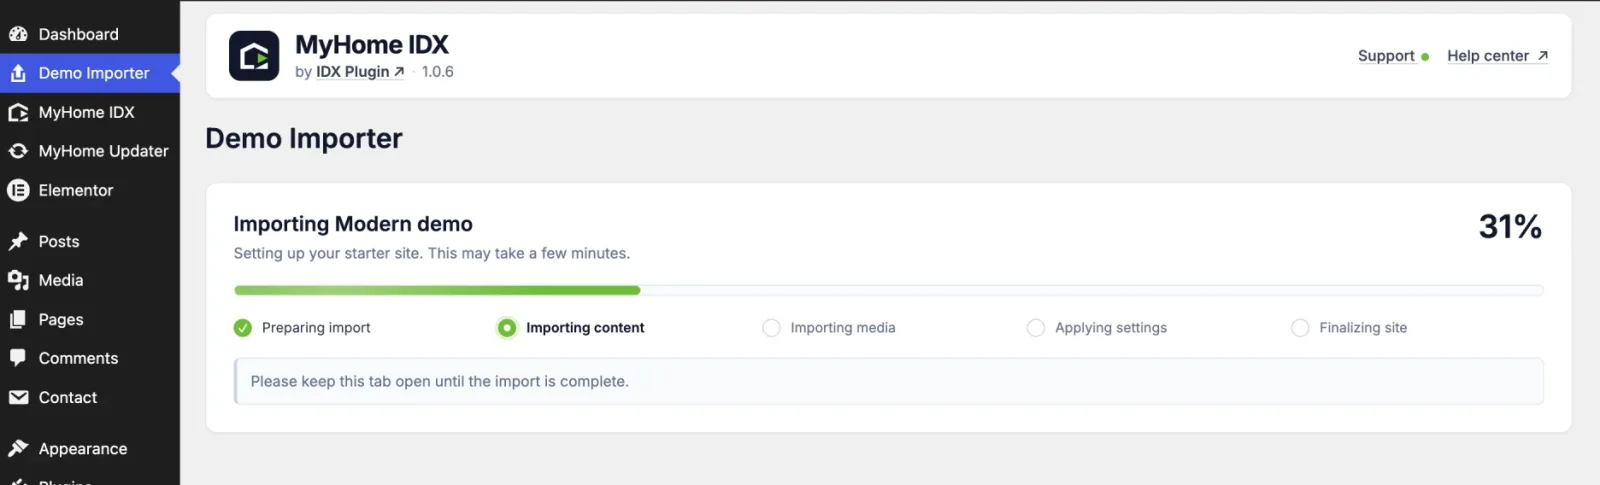
Click Import and keep the tab open until it finishes.
-
14
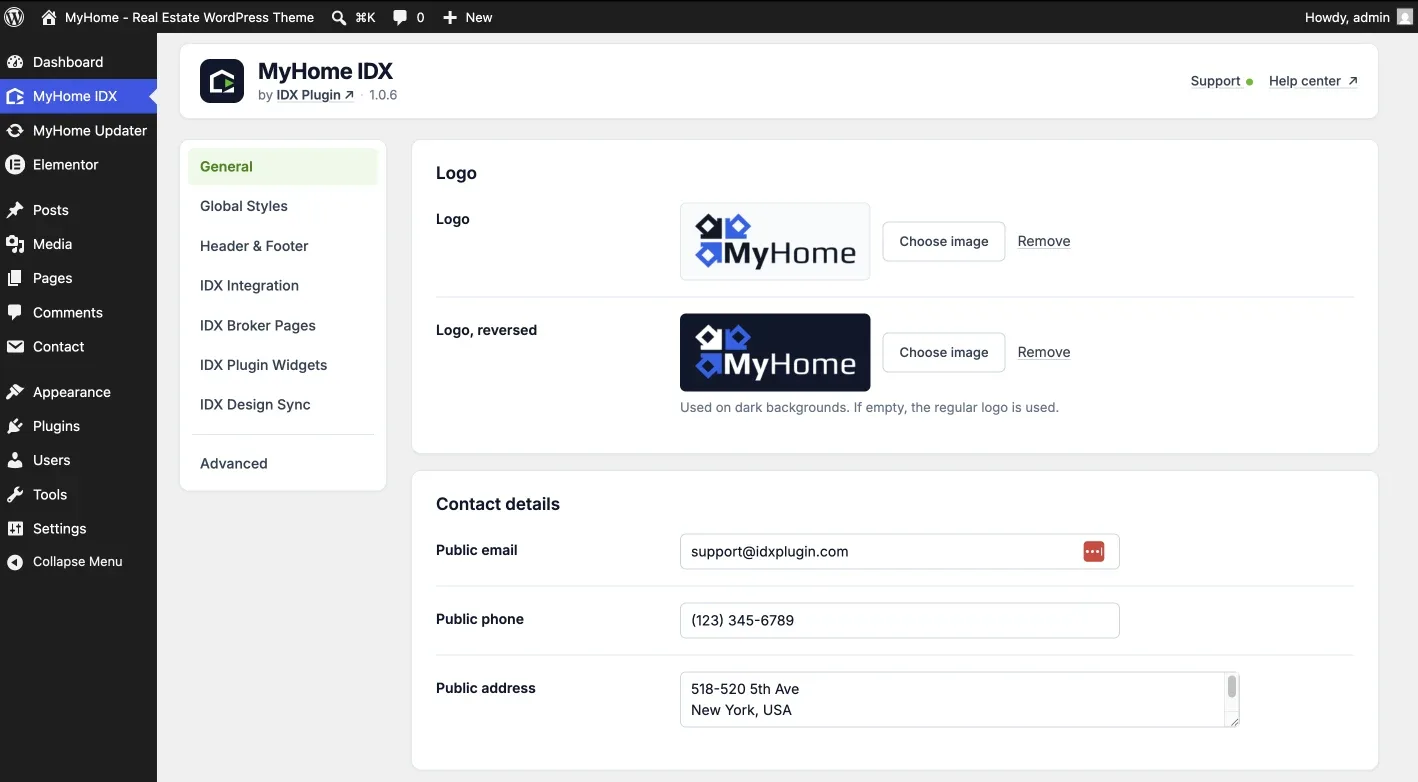
It ends on the MyHome IDX panel, where you set the logo and your contact details.
-
15
What you do next is up to you. Style the site, or connect IDX and see your own listings on it.
Common questions
Want us to install it for you?
Tell us where the site lives and we will put the theme, the plugins and the demo you like in place, then hand it back to you ready to edit.
Contact support Free with your IDX Broker account. You only pay IDX Broker.